Toilet Installation Guide
We’ve installed toilets all over the Atlanta metro area for our customers. Installing a toilet requires the precision and expertise of a professional plumber to ensure the installation is effective and safe. A correctly installed toilet contributes to the overall functionality of your bathroom and prevents future plumbing issues. Below is a detailed guide on how professional plumbers approach toilet installation, ensuring reliability and durability while adhering to the highest industry standards.
Initial Assessment and Preparation
Site Inspection:
- A thorough inspection of the bathroom space is conducted.
- During the inspection, the plumber evaluates not only the space where the new toilet will be installed but also the condition of related plumbing fixtures.
- The plumber checks existing plumbing setups, measures the area for the new toilet, and assesses the condition of the flooring and flange.
- This evaluation helps identify potential challenges that may require special attention during installation.
- They also ensure that the ventilation and lighting are adequate for installation work.
- Proper ventilation and lighting are critical to ensuring that the installation proceeds safely and effectively.
Choosing the Right Toilet:
- The plumber recommends a toilet based on the bathroom’s specifications and the customer’s preferences.
- This recommendation is tailored to align with the user’s expectations and the technical requirements of the bathroom layout.
- Considerations include the toilet’s water efficiency, height, design, and how well it matches the existing bathroom décor.
- Factors such as the toilet’s flushing technology and eco-friendliness are also taken into account to provide a durable and sustainable solution.
Preparation of Tools and Materials:
- Necessary tools such as wrenches, screwdrivers, and possibly a power drill or saw are gathered.
- These tools are essential for handling various aspects of the installation process, from removing the old toilet to securing the new one.
- Materials like a new wax ring, mounting bolts, and a flexible water supply line are prepared.
- Proper preparation of materials ensures a smooth installation process without unnecessary delays.
- The plumber ensures all components and replacement parts are at hand to avoid interruptions during installation.
- Having everything readily available helps streamline the installation process and reduces the risk of errors.
Removal of the Old Toilet (if applicable)
Shutting Off Water:
- The water supply to the toilet is shut off to prevent any spills during the removal process.
- This step is crucial for avoiding water damage and ensuring a clean working environment.
- This usually involves turning a valve located behind the toilet or near the bathroom’s water inlet.
- Properly shutting off the water supply is vital to prevent flooding during the disassembly of the old toilet.
Draining and Disconnecting:
- The tank is flushed to drain the water, and any remaining water is mopped up with a sponge or cloth.
- This ensures that the removal of the toilet is mess-free and environmentally conscious.
- The supply line is then disconnected using an adjustable wrench, ensuring no water leaks onto the floor.
- Careful disconnection prevents damage to the plumbing system and supports a straightforward reinstallation.
Unscrewing and Lifting:
- The toilet is detached by unscrewing the bolts that fix it to the floor.
- The plumber exercises caution to preserve the integrity of the bathroom floor and surrounding area.
- The plumber carefully lifts the toilet to avoid damage to the bathroom flooring.
- Correct lifting techniques are employed to prevent personal injury and damage to the toilet itself.
- The area is then cleaned, and the plumber checks the floor for any damage or irregularities that need addressing before installing the new toilet.
- Cleaning and checking ensure that the new toilet has a solid and level foundation for installation.
Installing the New Toilet
Preparing the Flange:
- The condition of the flange is inspected for any signs of wear or damage.
- This inspection is crucial as the flange must provide a secure connection to prevent leaks.
- It’s cleaned to remove any debris that might prevent a good seal with the new wax ring, and replaced if found defective.
- A clean and intact flange is essential for the long-term performance and hygiene of the new toilet.
Placing the Wax Ring:
- A new wax ring is placed over the flange to ensure a watertight seal between the toilet and the plumbing system.
- This step is critical as it ensures that no leakage occurs at the base of the toilet.
- The ring must be centered perfectly to avoid leaks.
- Correct placement of the wax ring is crucial for preventing future leaks and odors.
Setting the Toilet:
- The new toilet base is aligned carefully with the flange and wax ring.
- Proper alignment is necessary to ensure the toilet functions correctly.
- The plumber applies even pressure on the toilet to set the seal properly without shifting the wax ring from its position.
- Applying even pressure ensures that the seal is airtight and secure, which is essential for the proper operation of the toilet.
Securing the Toilet:
- The toilet is bolted securely to the floor, ensuring it is stable and level.
- Stability and leveling are critical to avoid any movement that could compromise the wax seal.
- Excess bolt length may be trimmed to prevent tripping hazards and improve aesthetics.
- Trimming the bolts enhances the finished look of the installation and ensures safety in the bathroom.
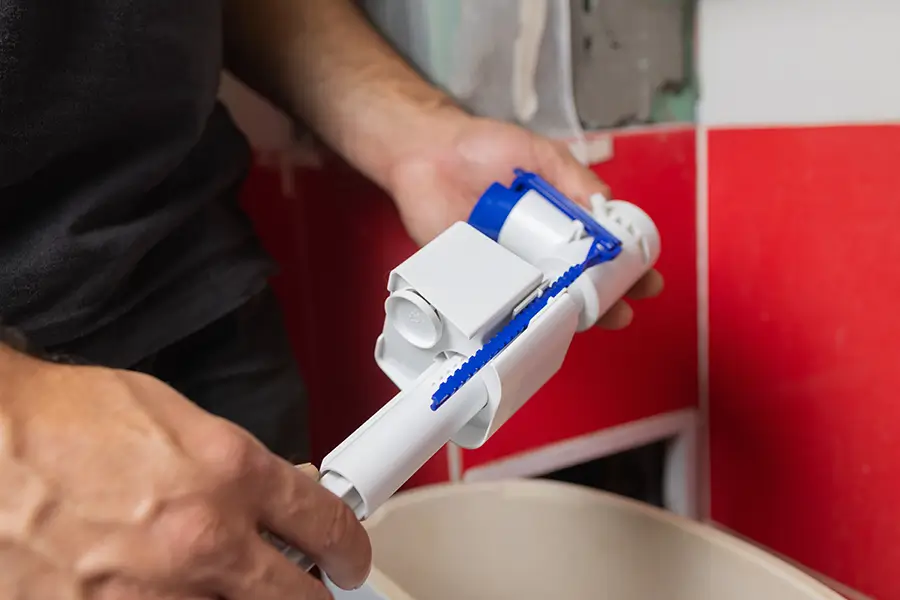
Attaching the Tank:
- If the tank and bowl are separate, the tank is then mounted onto the base.
- This process must be handled with care to avoid damaging the tank or bowl.
- The plumber uses bolts to secure the tank, checking that it’s aligned correctly and there are no gaps.
- Ensuring that the tank is securely attached and properly aligned prevents leaks and maintains the efficiency of the flushing system.
Connecting the Water Supply:
- The water supply line is reconnected to the tank, ensuring a snug fit to prevent leaks.
- A secure connection is vital to avoid water damage and ensure the toilet operates correctly.
- The plumber turns the water back on and inspects the connection for any drips or leaks.
- Checking for leaks after reconnecting the water supply ensures that all connections are secure and the toilet is ready for use.
Final Testing:
- The installation is tested by flushing the toilet multiple times.
- Multiple flushes are necessary to verify both the correct water flow and the integrity of the installation.
- The plumber checks for leaks around the base and the supply line and ensures that the toilet flushes correctly and refills at the appropriate level.
- Testing is crucial to confirm that the installation has been successful and the toilet is fully operational.
Conclusion and Clean-Up
Cleanup:
- All installation debris is removed, and the work area is cleaned.
- A clean installation site is as important as the technical installation itself, providing a professional finish.
- Tools are collected and stored properly to leave the bathroom tidy and ready for use.
- Proper tool management prevents accidents and ensures the plumber is prepared for the next job.
Customer Walkthrough:
- The plumber demonstrates the new toilet’s functionality to the customer.
- Demonstrating the toilet’s functionality ensures that the customer is satisfied and knows how to operate their new fixture.
- Maintenance tips and care instructions are provided to help the customer maintain the toilet in good working condition.
- Providing maintenance tips helps extend the life of the toilet and ensures that it remains hygienic and functional.
Professional toilet installation involves meticulous planning and careful execution to ensure long-term functionality and user satisfaction. If you require professional installation, consider contacting Rapid Response Plumbing. Our team of skilled professionals guarantees an efficient and thorough installation, allowing you to enjoy a hassle-free bathroom upgrade. Reach out to Rapid Response Plumbing today to schedule your installation and experience top-tier service from our experts.
The post Toilet Installation Guide appeared first on Rapid Response Plumbing.